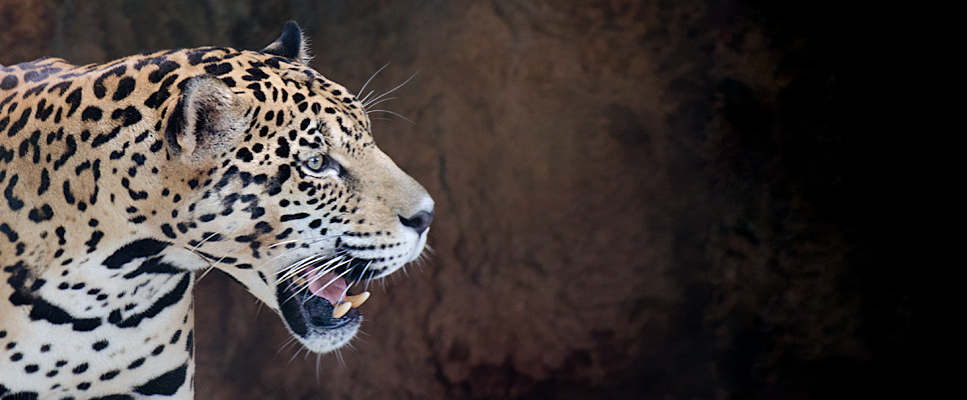
sample:
You may be wondering what is difference in general gif images and these Cinemagraphs, Cinemagraphs look like image but having particular moving area similar to video.
Cinemagraphs more than a photo, but not quite a video.
The first time I ever see this type of photography was almost a week ago, I came across two amazing blog, from Jamie Beck and Coco Rocha. They make this awesome picture that they called “cinemagraph”.
The cinemagraph are simply a .gif file with more artistic feel that the regular .gif you see everywhere. You need first a good picture that look great as a still photo. When you have your composition right and everything ready, ask your models to stay as still as possible for you to take a video in the highest resolution that your camera had. Remember to use a tripod to minimize camera shake. I use 1080p at 25 fps this will help you to have a better picture quality when you work with the frames.
Now you have your video, open Photoshop CS5 go to file>open and search for the video
sample:
Now go to File>import>video frame to layers… Now the animation palette have the frame and in the layers palette have all the frame in layers that you can mask and edit. Select the fist frame and in the layer palette only the fist layer would be visible. This is going to be the still photograph. Select the second frame and in the layer palette select both the fist layer and the second layer. Mask the second layer to show the part you want to move.
Make the same with all the frames just remember that the layer that are visible are the ones that are going to appear in that specific frame.
You can preview the animation at anytime by pressing the space bar.
To make an smooth transition in the animation the fist frame most be the same as the last frame. Is easy to make this once you finish all the masking and everything. Select all frames copy them and paste them after the original frames. Now in the animation palette menu select Reverse frame and you are done.
sample:
To save the animation go to File>save for web and device, select gif, make sure the animation loop is set to forever
sample:
Now go out and shoot!
Source : http://fernandojbaez.com/cinemagraph-tutorial/


0 comments:
Posting Komentar